How do I change my campaign settings?
The Outbrain dashboard is completely customizable and each campaign can be updated at your leisure. In this article, we’ll run through a few of the basic settings features which will help you optimize your campaigns in no time.
- Schedule your campaign
- Choose a budget & CPC
- Target your campaign with:
Want to edit multiple campaigns at the same time? You can do that with Bulk Editing.
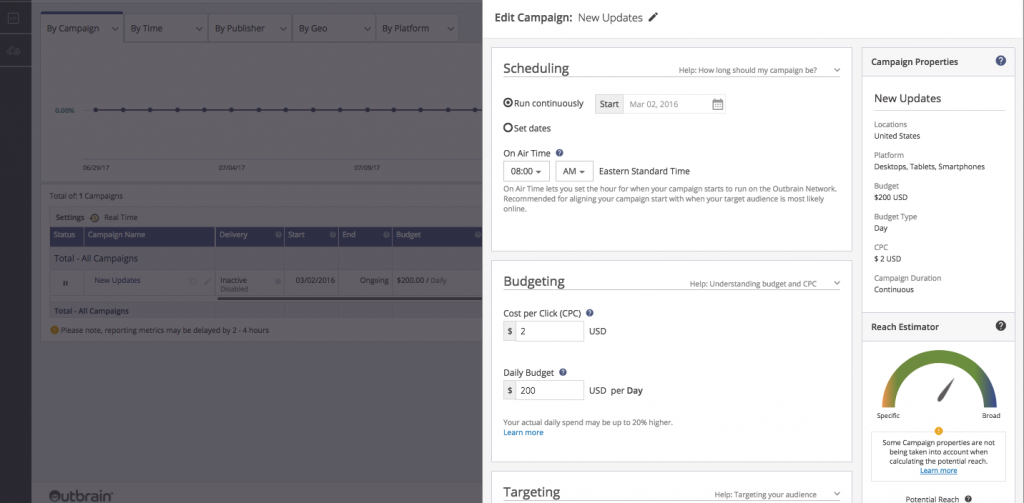
Click the pencil icon to the right of the campaign name you’d like to modify. This will open your Campaign Settings for editing.
Budgeting & CPC Options
If you would like to adjust the amount you’re willing to pay each day (budget) and the cost-per-click (CPC) for a campaign, you can do so:
- Under the campaign settings section, or
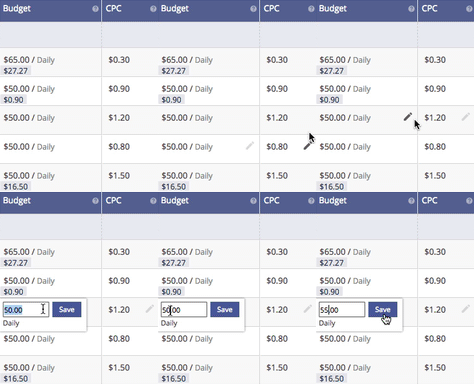
- On the fly, using inline editing in the campaigns view. Simply hover over the budget or CPC you would like to edit and the pencil icon will appear.
No worries if you make a mistake – you can adjust either of these values at any time.
Within the campaign settings section, you can choose from several different budget types: Daily, Monthly, or Campaign. Learn more about those here.
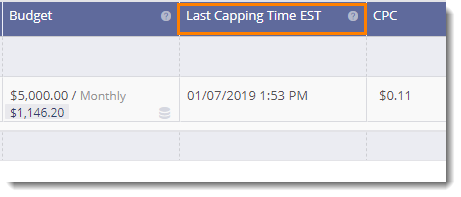
Interested in finding out when your campaign spent its budget? Check out the Last Capping Time column, which will show you the date and time your campaign last capped its budget.
Targeting your Campaign
To get an idea of how many customers will view your content in our network, take a look at the Reach Estimator on the right-hand sidebar.
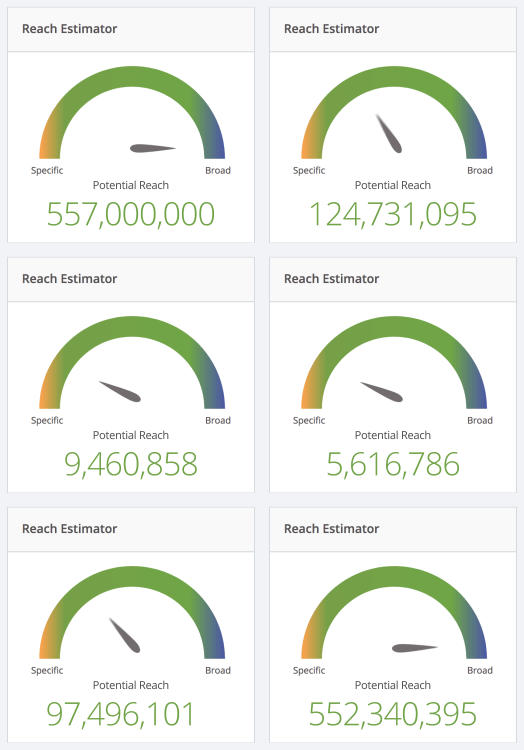
This tool provides 30-day potential reach, allowing you to make smarter targeting decisions. When submitting a campaign or optimizing an existing one, determine if your potential reach is too broad or too specific, and make adjustments accordingly. Currently, the estimator takes audience segments, location targeting (country-, region-, and state-level only), and device targeting into consideration.
Audience Segments
If you have already set up custom audience segments, the option to add and/or exclude segments per campaign will appear. Click into each segment box and add or exclude any previously created segments. Please note that we recommend a minimum segment size of 100K users before targeting a campaign to a custom segment.
Location Targeting
Target your campaigns to a country, state/region, U.S. DMA, or postal code of choice to reach the most relevant audience. Simply type the name or postal code of the area(s) you wish to focus on to add the location to your campaign.

You may also exclude locations if you do not want your content to be served in a specific location(s). With this feature, you can target broad geos and exclude certain locations within them. Please note that the reach estimator does not support exclusions at this time. Therefore, the scale may be more limited than displayed.

To target or exclude multiple locations at once, download the template and fill out the fields accordingly. You are able to upload up to 7,000 postal codes to one campaign.
There is one template for importing location inclusions/exclusions with the following headers:
- Location Type (country, region, DMA, postal code) – mandatory to enter
- Location Name – relevant for country, region, DMA
- Country Initials – relevant for postal codes
- Postal Code – relevant for postal codes
*Please leave irrelevant cells empty*
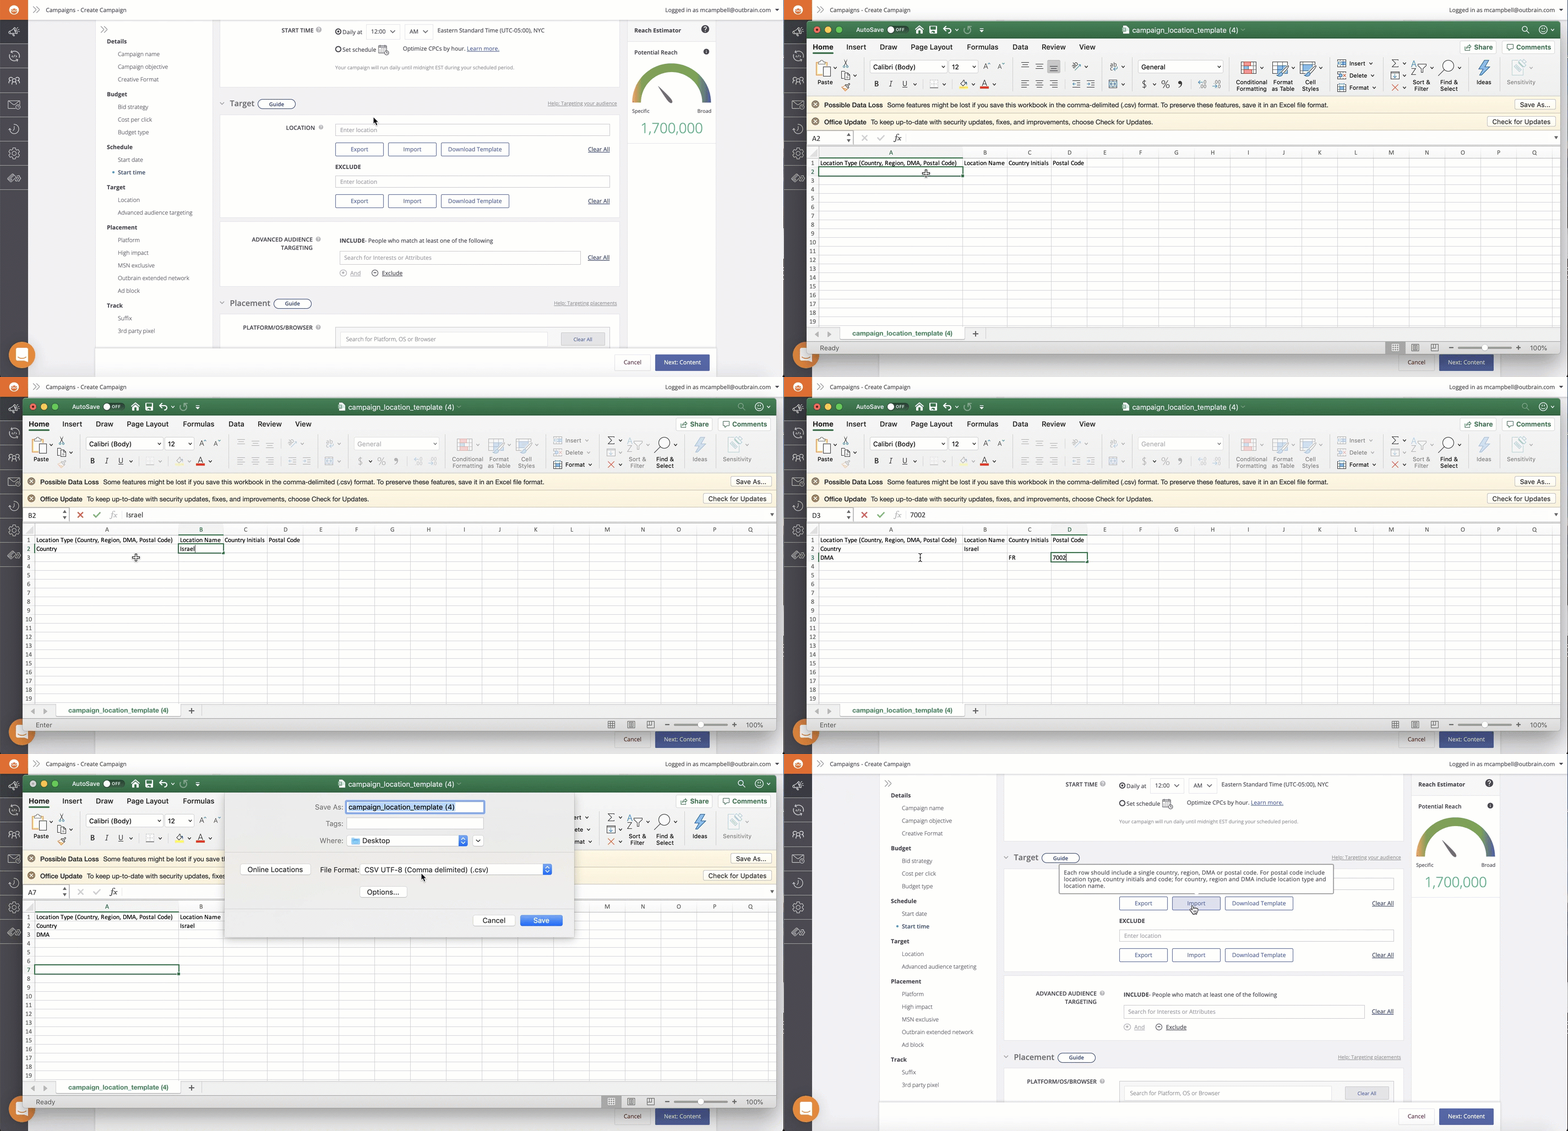
Finally, select “Import” below the targeting inclusions or exclusions and choose your saved CSV file. These location names will auto-populate upon successful upload.
Platform/OS/Browser Targeting
Campaigns are automatically targeted to all platforms, but you can customize the platforms (desktop, smartphone, tablet), operating systems (OS), and browsers where your campaigns runs.

Finally, you can choose to check (or uncheck) OEN and AdBlock targeting.
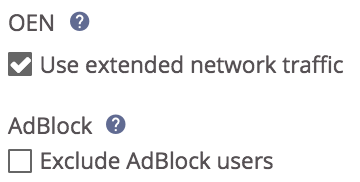
Check off the Adblock feature if you are a publisher who wishes to monetize your own site’s ads to users without ad-blocking software. Outbrain partners with AdBlock Plus, the most popular ad-blocking software, across a large part of our publisher network to ensure our paid recommendations are visible to users despite their use of ad-blocking software.
Once satisfied, click “Save” at the bottom of the screen to finalize the campaign’s new settings.
Bulk Editing
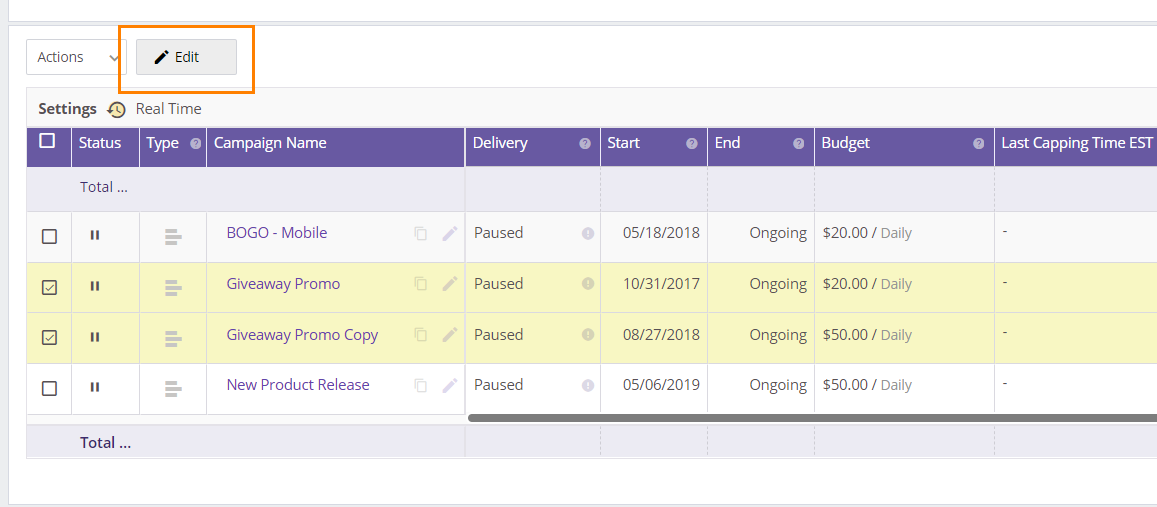
If you need to edit several campaigns at once, simply select up to 25 campaigns and then click the edit button.
You can edit select settings such as CPC, campaign start time, and tracking suffixes. Please note that changing any settings here will override an individual campaign’s existing settings. This screen will also be empty by default.
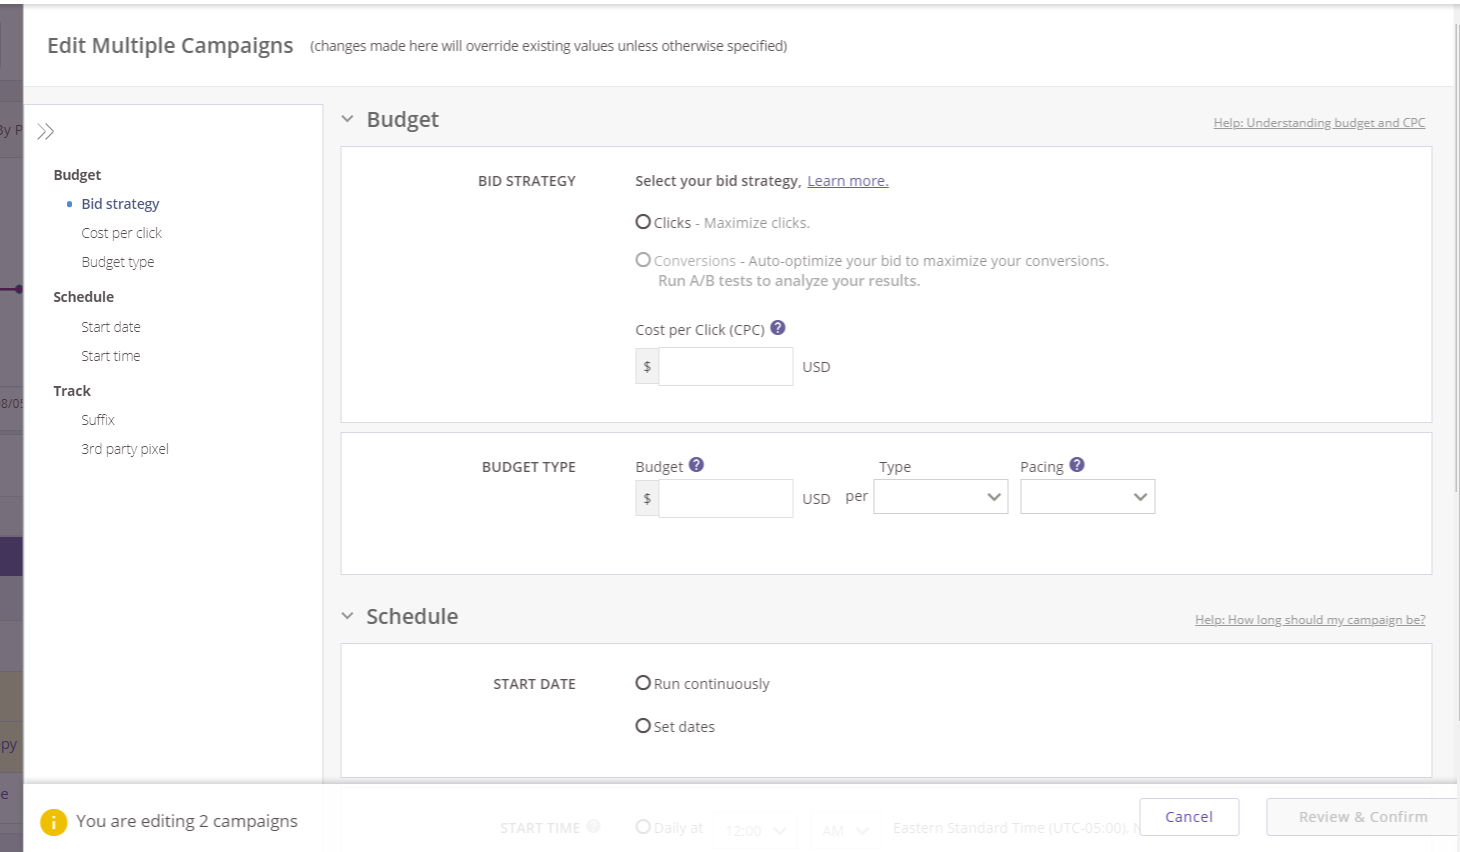
Once you complete your bulk campaign edits, simply click the Review & Confirm button in the lower right corner. If there are any conflicts or errors, a prompt will be shown so you can correct them.
Need help navigating your settings? Our DIY Customer Success team is here to assist.
